

Today, I want to discuss Mega Navigation and how to design and develop it on the BigCommerce stencil platform. This information is aimed at junior or senior developers who are new to BigCommerce or have recently started working with it and may not be familiar with all the intricacies and techniques for achieving optimal results in UI, UX, and SEO.
If you would like to follow this Tutorial with a video you can checkout this lesson for BigCommerce Dev X here!!
Setting Up the Cornerstone Theme
To start, I have set up a sandbox environment with BigCommerce where the default Cornerstone theme is displayed in the themes section.  Cornerstone serves as a basic blueprint provided by BigCommerce, equipped with the latest updates and features in a simple and unrefined manner. It serves as a foundation for developers to build upon and also serves as a learning tool to understand the structure of BigCommerce stencil themes.
Proper Local Development Environment
One common mistake I often observe is developers neglecting to understand the underlying technology and failing to set up their local development environment properly. Instead, they directly modify files using the theme editor. This approach leads to multiple compilation errors and makes it challenging for other developers to work on the theme efficiently, causing a cascade of issues.
Learn and Set Up the Environment
To avoid these problems, it is crucial to learn how BigCommerce works and establish a suitable local development environment. A helpful resource for installing the Stencil CLI and setting up the environment can be found here: https://developer.bigcommerce.com/stencil-docs/installing-stencil-cli/installing-stencil
Understanding Mega Navigation in Cornerstone
The primary mistake I notice when working with Mega Navigation is developers not configuring their local environments and instead attaching jQuery or other UI libraries within the Theme Editor, resulting in clunky code execution after everything has already loaded. It is advisable to avoid this approach.
Examining the Out-of-the-Box Mega Navigation
Once the development environment is set up, we can examine the out-of-the-box Mega Navigation provided by Cornerstone. I have created a test category and added several subcategories to demonstrate its functionality. https://marina-sandbox1-mak-invoices.mybigcommerce.com
Improving Mega Navigation Behavior
Currently, the behavior displays the subcategories upon click events. While this behavior is suitable for building a multi-level interactive Mega Menu, it becomes cumbersome if we only want a single level and minimal interactivity, as it requires users to perform unnecessary clicks. A better user experience would involve displaying the full Mega Navigation on hover and allowing users to click and access the actual Clothing category. An example of a well-designed Mega Nav can be seen here: https://www.nestnewyork.com/ – site built by Trellis agency. 
On the other hand, a poorly implemented Mega Navigation can be observed on the website ansgear.com. In this example, the Mega Navigation drops down on both click and hover events, accompanied by a distracting flashing effect. It does not allow users to click on the main category to directly access it and overwhelms the screen with an excessive number of subcategories, causing confusion for users. 
Identifying Cornerstone Files for Modification
To make my Cornerstone Mega Nav resemble nestnewyork.com, we need to make some changes. Assuming you have already set up your development environment, navigate to the Mega Navigation Cornerstone files. The file responsible for the site header can be found under “templates/components/common” with the filename “header.html”. 
Modifying the Navigation Files
In this file, locate the navigation file under “components/common/navigation-menu” and further navigate to “components/common/navigation-list.” 
Changing Mega Navigation Behavior on Hover
First, we will remove the click event and make the Mega Navigation behave on hover. By examining the Cornerstone theme, I know that the data parameter triggers the JavaScript behavior on click. Therefore, I will find the logic that activates this behavior and modify it to work only on mobile devices. File location is: assets/js/theme/global/menu.js 
Applying CSS Changes
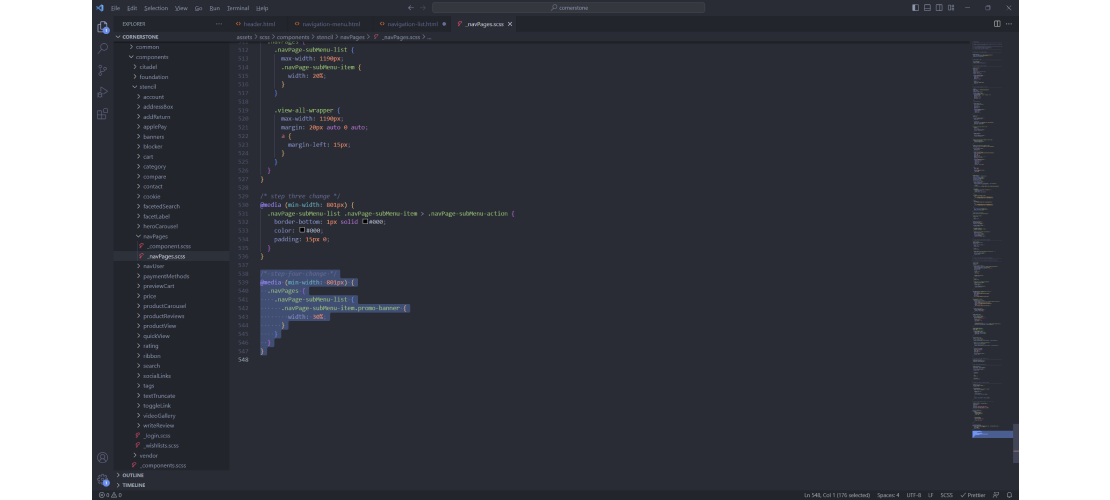
Additionally, I will apply CSS changes in the “assets/scss/components/stencil/navPages/_navPages.scss” file to achieve the desired hover behavior and make other minor adjustments.
Result of Modifications
After these modifications, the Mega Navigation will respond to hover events and exhibit a visually pleasing drop-down effect. 

Further Layout Adjustments
We will also remove the “All Home Goods” link from the top and reposition it at the bottom of the list, similar to nestnewyork.com. 


Again a little bit of CSS adjustments and you can see how it is laying out now. 

Enhancing Mega Navigation with Images
To further enhance the Mega Navigation, we will insert images as presentation headers before each subcategory, just like nestnewyork.com. For this, we can utilize the Category object, which provides access to the image file assigned to each category. By calling the image file, we can display it in the navigation. This change will transform the Mega Navigation layout, making it more appealing and interactive. 


Alternative Approaches for Custom Category Page Images
However, displaying the same image on the category page may not be ideal if the banner image has different dimensions or the customer wants to use a completely different image. In such cases, we have a couple of options. I will provide some of the solutions, obviously there is other ways to get this done but these 2 have been my go-to.
Option #1: Extending Category Object with Meta Data
We can extend the Category object and use meta data fields within BigCommerce to store additional properties. This can be achieved using the Space48 Meta Fields Manager app. By adding meta data for the image, we can overwrite the default category page image with the desired image, as demonstrated on the site https://www.glowbackledstore.com/.  .
.
Option #2: Using Special Characters in Category Names and URLs
Another approach is to add special characters to the category name or URL as an indicator flag. Here’s how we can implement it:
- First, ensure that the mega navigation image is named exactly the same as the category name, following a good naming convention. For example, we can name it “wellness-collection.jpg”.
- Upload the mega navigation image through the Image Manager
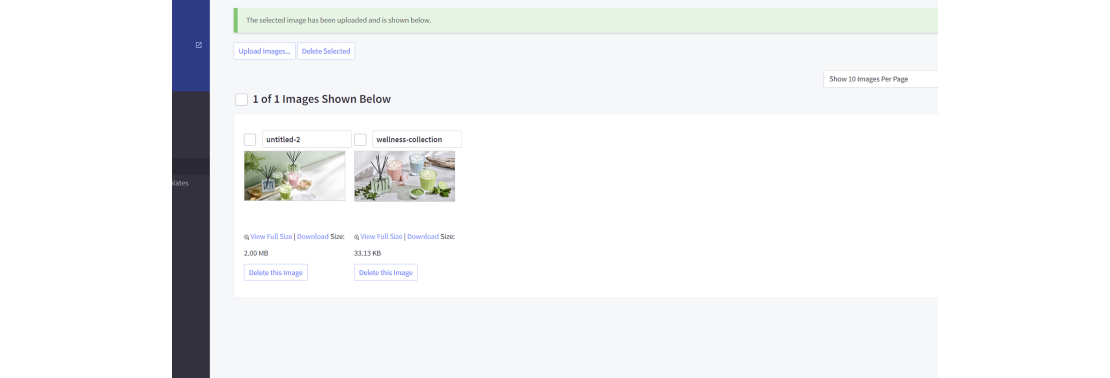 .
. - Next, rename the category URL from “/home-goods/wellness-collection/” to “/home_goods/wellness-collection/”. In this case, we’ll use an underscore (_) as the indicator
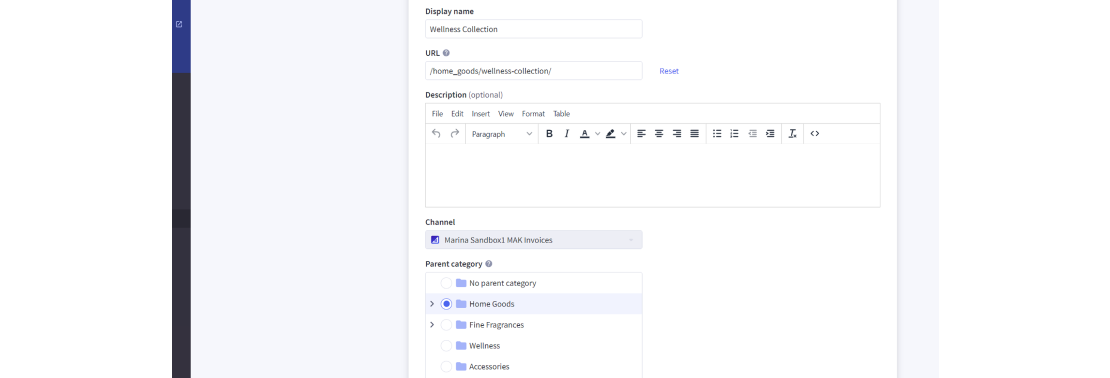 .
. - Upload a completely different banner image for the Wellness category
 .
. - Now, let’s modify the navigation file to incorporate this logic. We’ll use the stencil handlebars “contains” function to check if the category URL contains an underscore. You can find a list of all available stencil handlebars in the handlebars helpers reference.
- Within the navigation file, add a conditional statement to load the image from a different location if the special character is present. You can use the “dashcase” function with the category name to generate the correct file name.
 .
. .
. .
.By implementing these changes, our Mega Navigation will display an image that is entirely different from the category banner. 

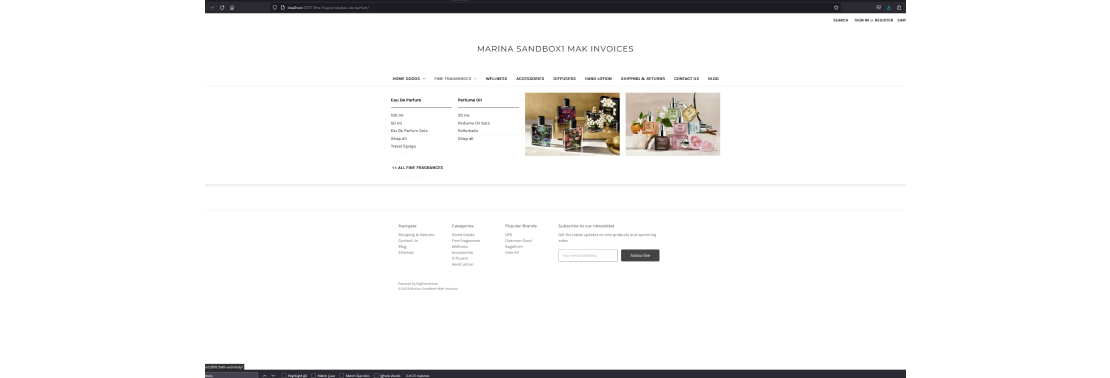
Enhancing Mega Navigation with Promotional Banners
Now, let’s explore how to create a dropdown that shows both promotional banners and subcategories, similar to the “Fine Fragrances” section on nestnewyork.com.  .
.
- Start by creating two subcategories under “Fine Fragrance” with names that include an underscore (_) at the beginning. This indicator will let us know that these categories will serve as promotional banners
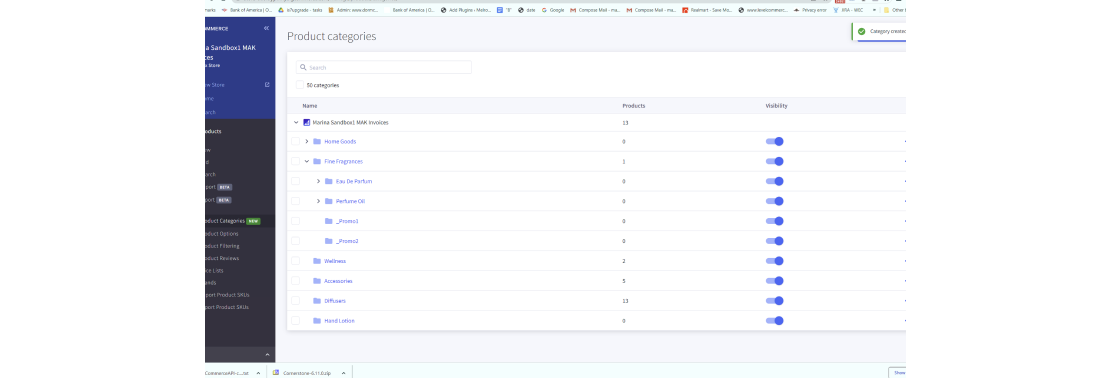 .
. - Upload the corresponding promotional banners to these subcategories
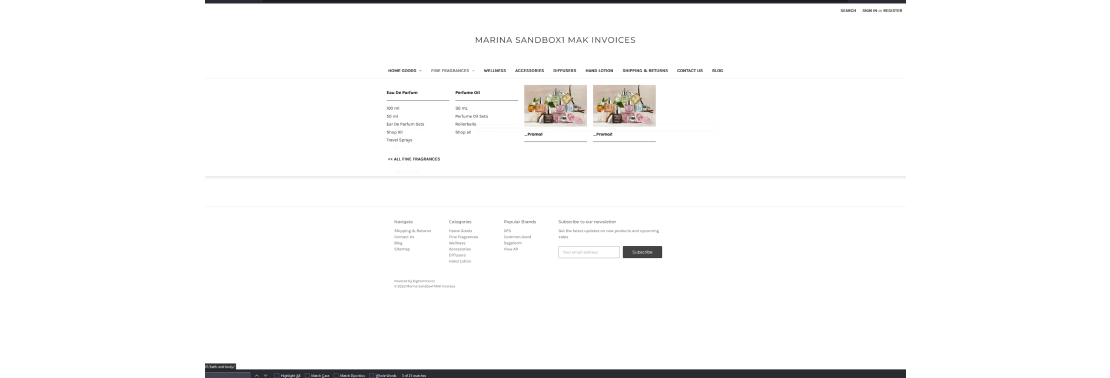 .
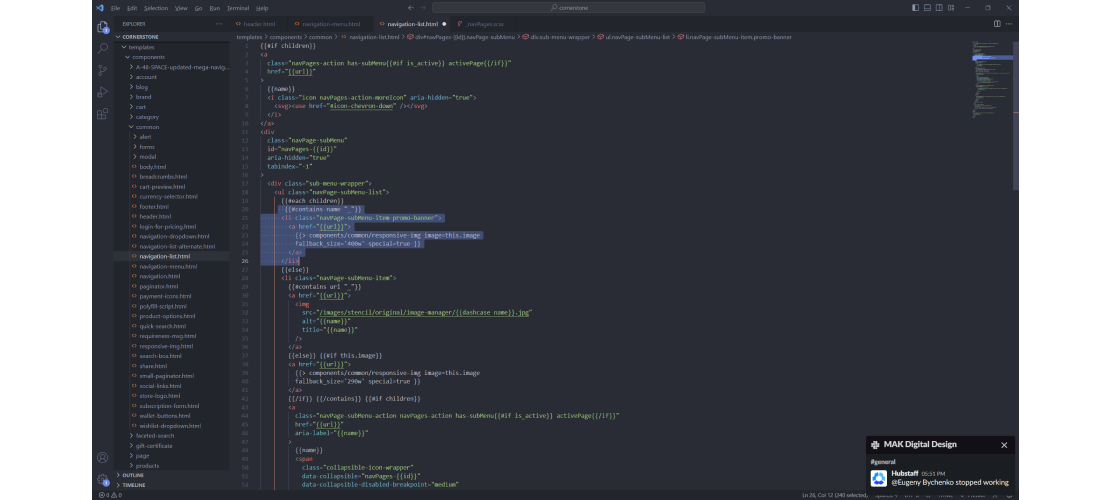
. - In the navigation file, add a condition using the “contains” function to identify the presence of the underscore indicator. Adjust the rendering of the banner list element by adding an additional class, such as “promo-banner”.
- Apply appropriate styling to achieve the desired visual effect.
 .
. .
.


Completing the Implementation
To complete the implementation, create 301 redirects for these pages to redirect users to the desired promotional pages on the site. You can do this under “Home > Settings > Domain > 301 Redirect”.
For a real-life example of this implementation, you can visit https://proarmory.com/.
Considering Mobile Navigation Best Practices
While our focus today is on Mega Navigation, it’s important to consider mobile navigation best practices as well. Reusing the main navigation for both desktop and mobile devices, as done in the Cornerstone Theme, is not recommended.
On desktop, keep the navigation to a maximum of 3 or 4 clicks to avoid overwhelming users with excessive information. Consider using filters to simplify navigation. On mobile, it’s crucial to provide the ability to navigate through all levels smoothly. One effective approach is to use a React library as an add-on and create a separate mobile navigation component. You can see an example of this implementation on the site https://www.poolandhottubdepot.com/.
Conclusion
In conclusion, when coding a navigation system for your customers, always prioritize a user-friendly experience. Avoid taking shortcuts, as the navigation system is the most crucial component of a website. It acts as a map, helping customers find what they’re looking for and can significantly impact a business’s success.
Thank you for your time, and I hope you found this information helpful!
-Marina


